
One of the best ways to attract a viewer’s attention is to produce a piece of artwork that tells a story. In this tutorial, we will create a cavernous underground structure in Photoshop using digital painting techniques. In doing so, we will focus on atmosphere and will try to create a sense that there is more going on in the image than can be seen a first glance. Let’s get started!
Tutorial Assets
The following assets were used during the production of this tutorial.
Step 1: Lines
I usually start off a piece with some fairly crisp line art. Often I think I spend a bit more time than is really necessary, but I think spending a bit of time on your lines really helps to crystallize your ideas of where the piece is going before you start.
I always start my initial sketches in pencil, but there’s no reason why you can’t start off in Photoshop or any other drawing program if you feel comfortable with that.
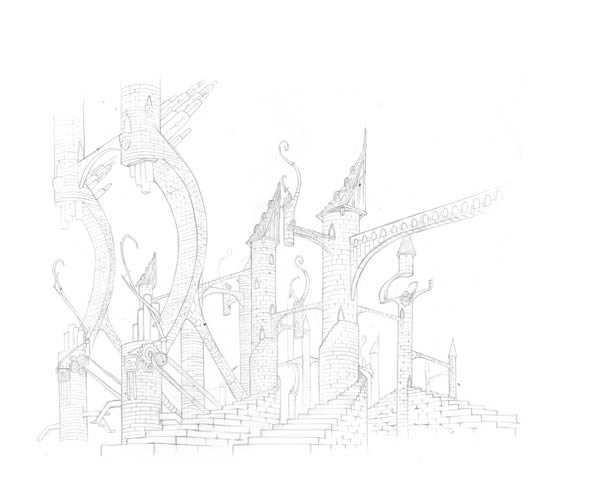
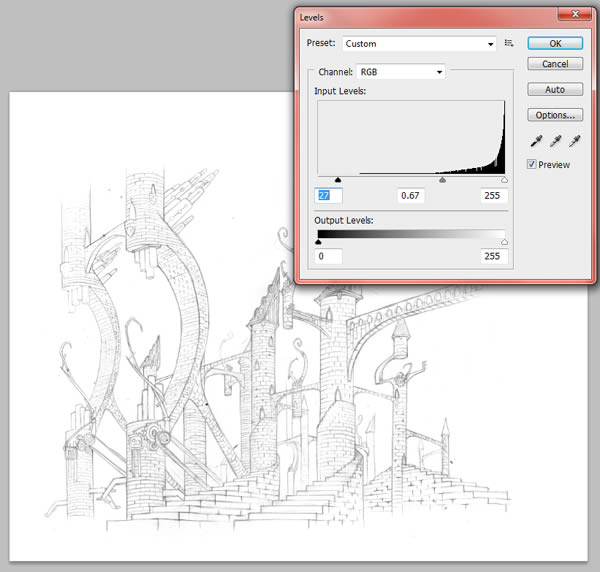
Once you’ve completed the initial sketch of the architecture, you need to scan your art, and adjust the levels to get a nice crisp black and white sketch. This is not a make or break stage, the lines just need to be nice and visible. The pencil lines are not an integral part of the finished item, they are just a guide, so you can be as rough or as definitive with them as you like. I will normally find myself digitally adjusting them at various stages throughout the process.
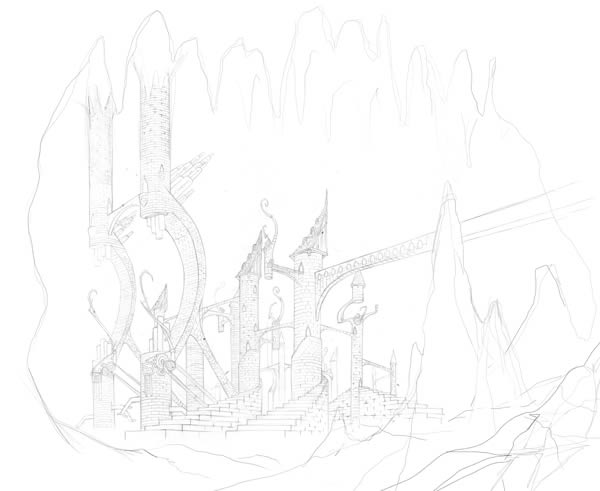
Once the architecture is scanned, It’s useful to start digitally sketching the rest of the scene. Extend the architecture, and start to roughly sketch in the surrounding rocks, stalactites and stalagmites, but keep it quite general at this stage, no need to invest too much time in the details.
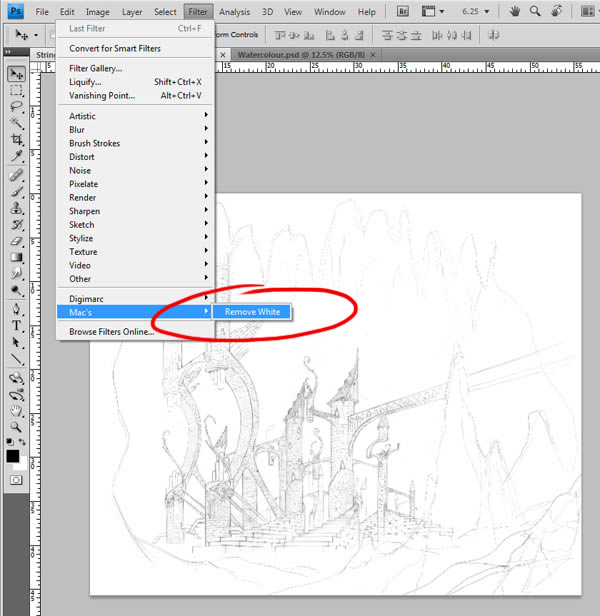
The final stage is to remove the white from the lines. There are two ways of doing this. The easiest way is to set the layer to Multiply. I normally use a custom filter called Mac’s Remove White, which is freely downloadable and removes the white from the background. This is more out of habit than anything, and isn’t necessary for this particular image.
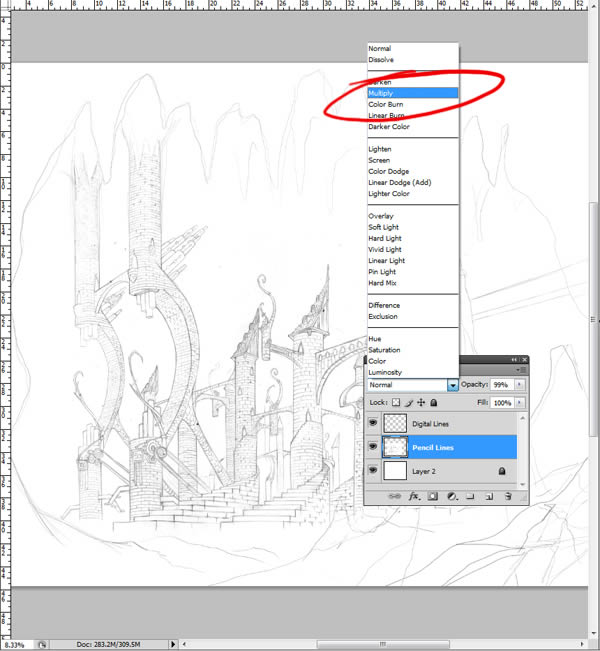
Step 2: Background
Once your happy with the lines, its time to start on the background. This stage helps to define the palette you are going to use for the rest of the piece.
I often use watercolor textures in my backgrounds which I create myself, and I have provided the texture I used for this piece. Apply the texture to a new layer beneath the lines.
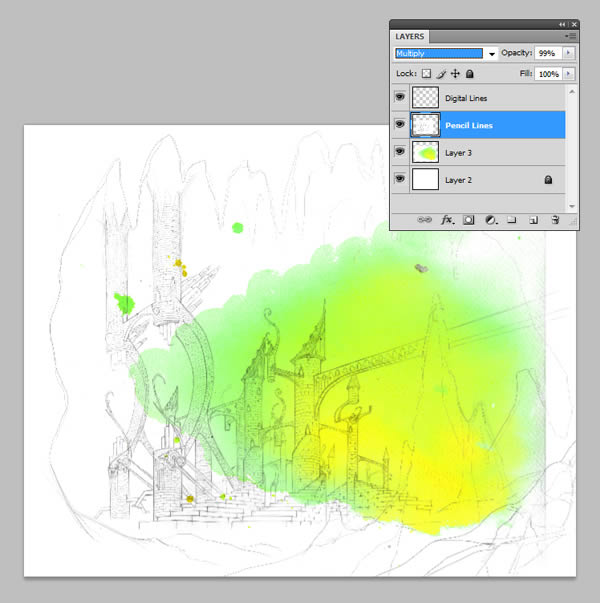
Adjust the lightness and saturation of the watercolors,
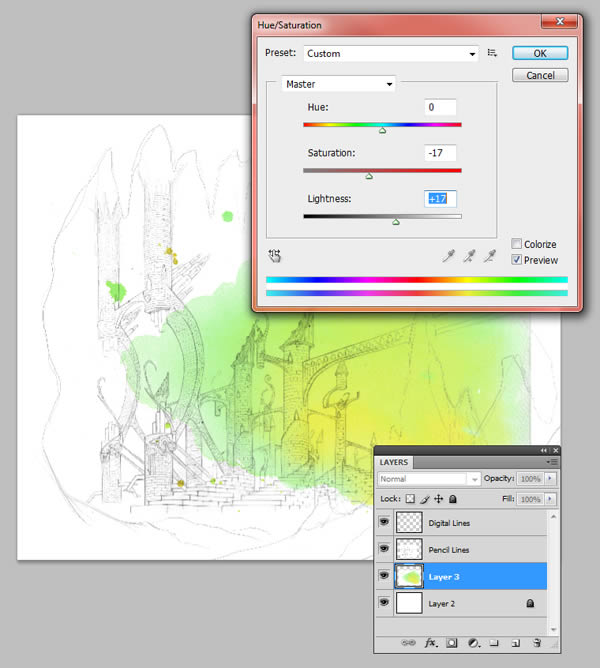
And then begin painting in the surrounding greens of the cavern
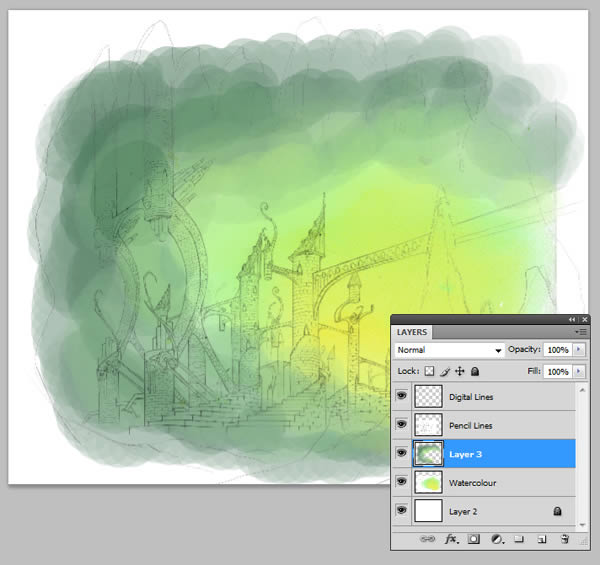
Now use a new layer on overlay setting to lighten the central point of the texture, creating the illusion of a light source.
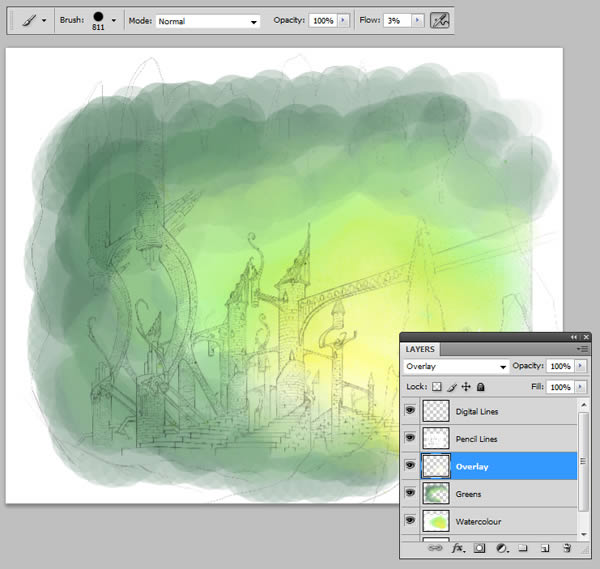
Continue painting in the surroundings, creating some vague cave-like shapes. Once all this is done, It should look something like this.
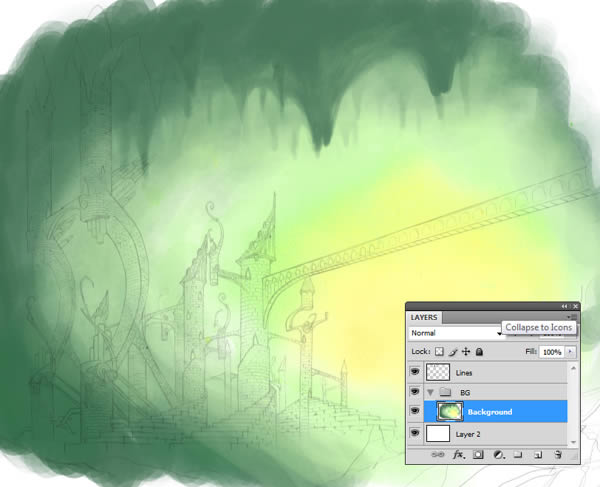
You’ll notice a few more adjustments to the lines, I usually do this as I go along. Here I have decided to remove the tall stalagmite and extend the bridge out to the right. I have also merged all the background layers in a vain attempt to keep the document size manageable, but if your computer is more efficient than mine, feel free to skip this step.
Step 3: Caves
Bordering the edge of this illustration is a rocky cavern, consisting of the Stalactites and Stalagmites we drew earlier. Now we need to block in some rough colors for these, so take a hard round brush and just roughly fill these areas.
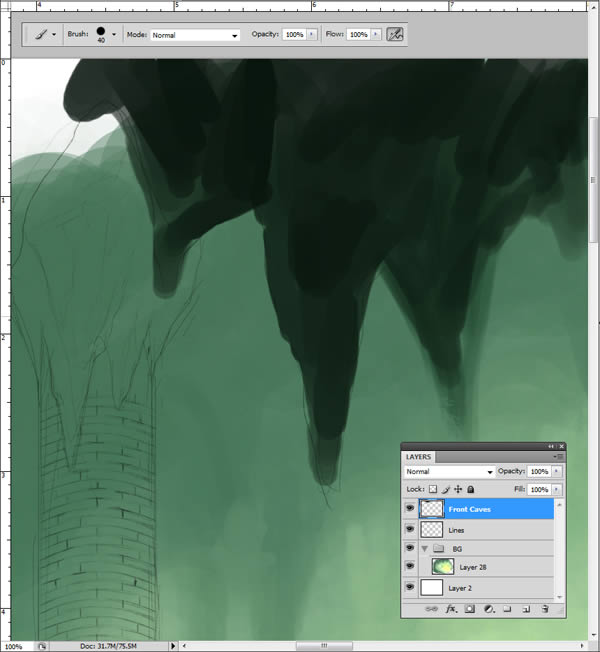
Now sample a color from the background, and paint slightly over the edge to create a lit surface.
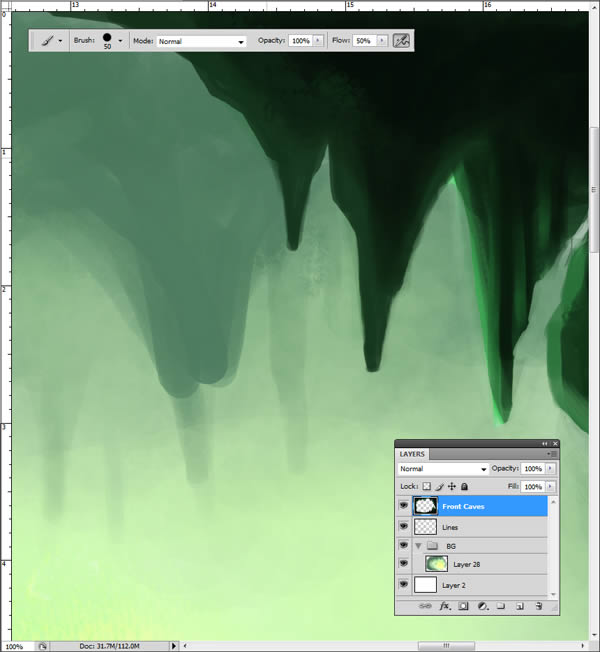
Paint ridges and protrusions to add some detail.
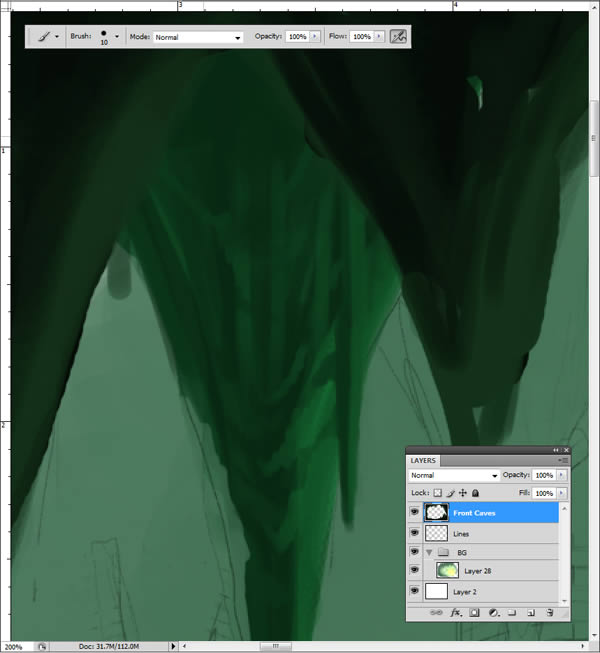
You should now find your cavernous border looking similar to this:
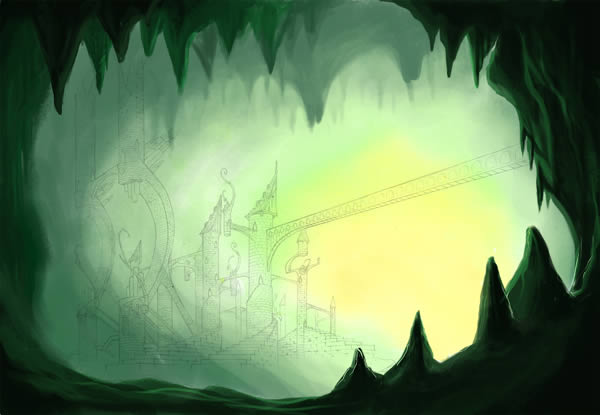
...and that's the end of the preview!
TeToOo :نشرت من قبل |
0
comments»